
How to Plan an Outdoor Trade Show Booth That Stands Out (Checklist Included)
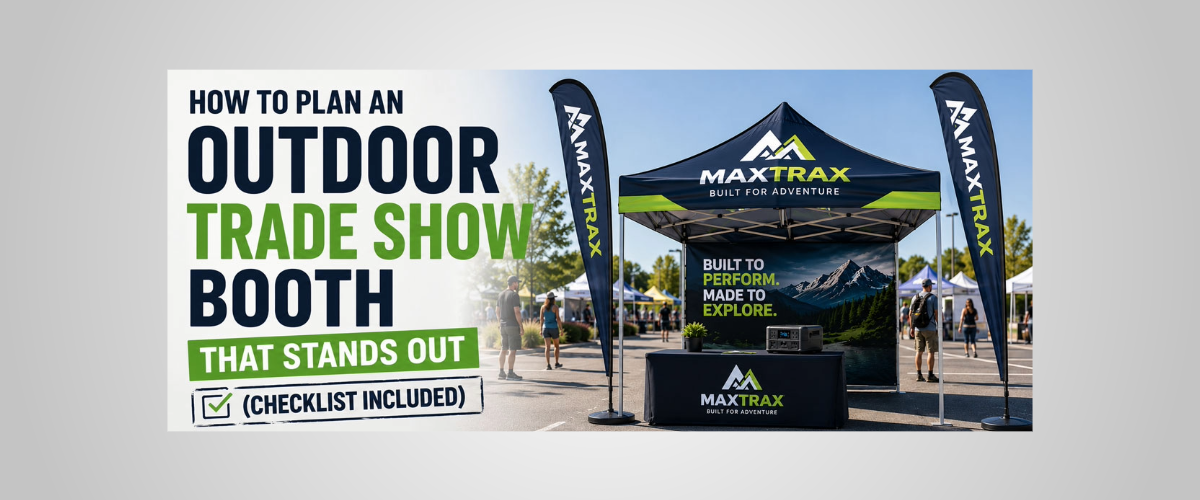
An outdoor trade show booth needs five things. First, a weatherproof structure. Second, 40 lbs of anchoring weight per leg minimum. Third, UV-stable graphics readable from 20 feet. Fourth, an off-grid power station of 500Wh or more. Fifth, a pre-show marketing plan that drives qualified traffic to your specific footprint. Finally, planning starts six to eight weeks before the show.
That’s the short version of what an outdoor trade show booth requires. Also, the long version is what the rest of this guide covers. Most of all, outdoor trade shows reward exhibitors who plan for the conditions. Plus, the indoor booth playbook falls apart the moment wind, sun, and uneven ground enter the picture. So most teams find that out at 7am on setup day. Finally, the full planning checklist sits at the end of the article. Plus, it’s ready to print or save.
What Is an Outdoor Trade Show Booth?
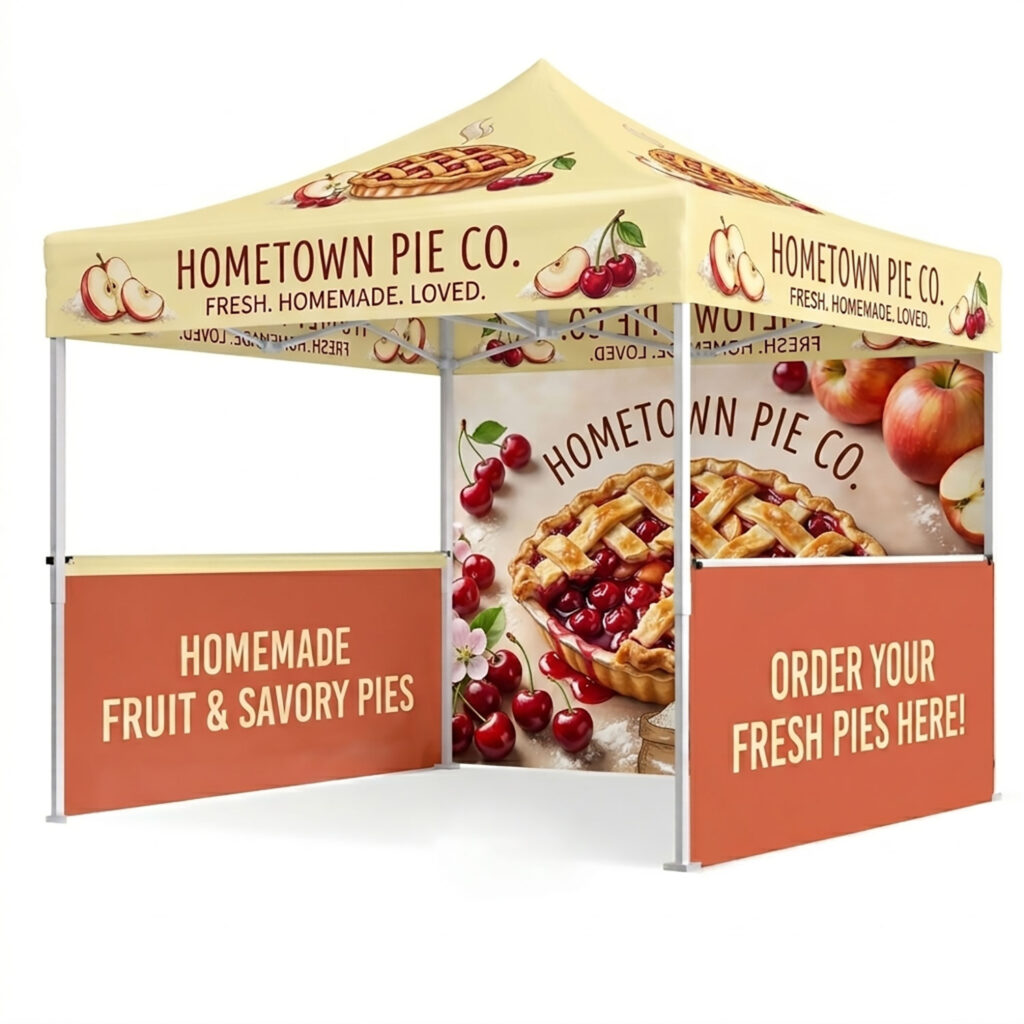
First, an outdoor trade show booth is a self-contained exhibit setup. In short, it’s engineered for open-air events: festivals, fairs, sporting events, outdoor expos, and parking-lot activations. Also, the core structure is a 10×10 or 10×20 pop-up tent with a branded canopy. Also, it’s supported by feather flags, outdoor banner stands, a portable counter, and battery-powered lighting. In fact, every component is built to handle wind, sun, rain, and the absence of venue-provided power.
The key difference from an indoor booth is functional. In short, outdoor booths must work without aisle walls, climate control, hardwired electricity, or guaranteed wifi. So that changes every buying decision from the ground up.
How Is an Outdoor Trade Show Booth Different from an Indoor One?
Indoor attendees move down structured aisles past your booth. But outdoor attendees move in open space and decide from 20 feet away whether to walk over. So that single difference reshapes every other choice you make.
The structural requirements change first. Like every display element needs UV-stable graphics. They also need water-resistant hardware. Plus, they need a ballast or staking system rated for the venue’s wind exposure. Next, the marketing requirements shift. Sightline, vertical height, and signage hierarchy matter more outdoors than in any other exhibit context. After all, nothing else funnels visitors toward you.
What Are the Steps to Plan an Outdoor Trade Show Booth?
Planning an outdoor trade show booth takes eight steps. Each one depends on the one before it. First, define the booth’s job. Then choose the display type. Next, engineer for weather. After that, plan the layout. Then solve power and lighting. After that, design graphics for distance. Build the lead capture system. Finally, set up ROI tracking. Skipping the first step is what produces the most expensive mistakes.
Step 1: Define the Booth’s Job Before You Buy Anything
Also, most outdoor booth problems trace back to skipping this step. Like a B2B expo booth needs to generate qualified leads. But a consumer festival booth needs to drive on-the-spot purchases. Still, both might be 10×10 footprints. However, the planning is different. In short, three decisions belong on one page before you look at any displays:
- Primary outcome. Lead capture, product demos, on-site sales, brand awareness, or media moments. Pick one.
- Visitor flow target. Realistic number of meaningful conversations per day at this specific show, based on past data or organizer estimates.
- Conversion mechanism. What happens when someone walks up. A QR code, a demo station, a giveaway entry, or a booked meeting.
In short, this one page of decisions drives every display, accessory, and staffing choice that follows.
Step 2: Match the Display Type to the Venue and Goal
Also, outdoor displays fall into four core categories. In short, the right choice depends on weather exposure, footprint size, and visibility distance.
 Pop-Up Tents and Canopies
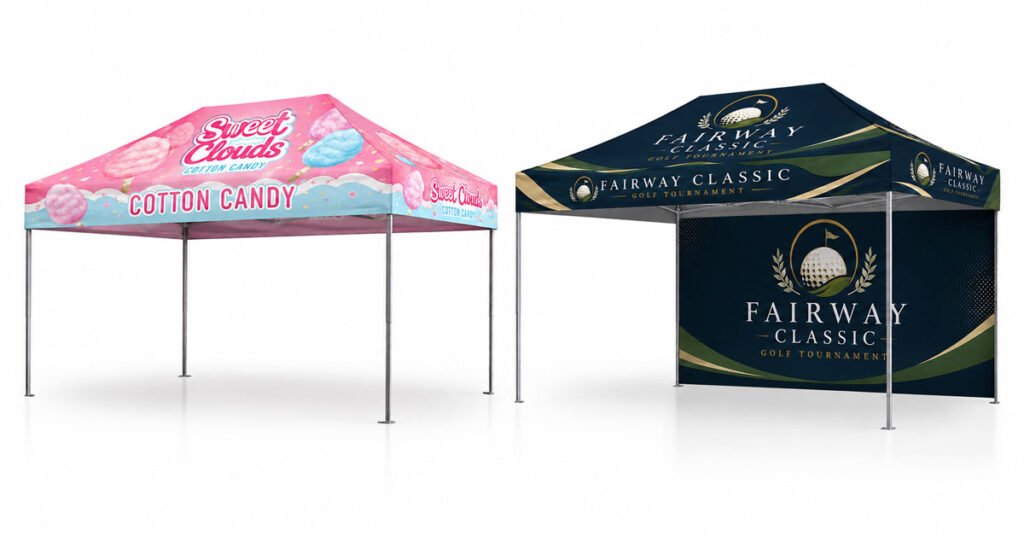
Also, a branded pop-up tent is the primary structure for most outdoor booths. In short, standard sizes are 10×10, 10×15, 10×20, and 20×20. Still, frame quality is the main differentiator. Like aluminum frames are lighter (40–60 lbs) and resist rust. But steel frames are heavier (60–100 lbs) but sturdier in wind. Overall, commercial-grade frames with 600-denier polyester canopies handle multi-day shows. But economy frames do not.
Zoom-Flex Large Outdoor Flags
Feather Flags and Swooper Flags
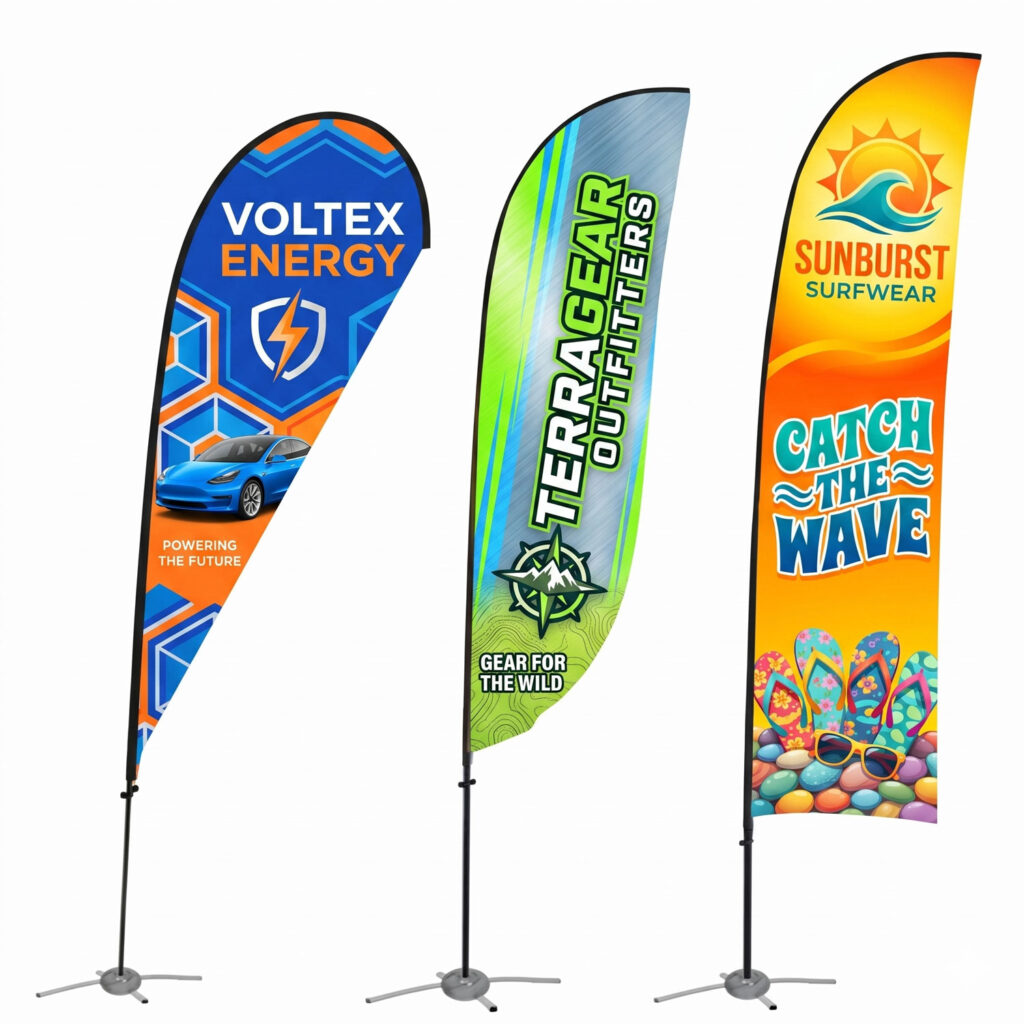
Still, feather flags rise 10 to 17 feet above ground. In fact, they exist for one purpose: visibility from across the venue. In short, use them as wayfinding for visitors searching for your booth. Also, use them as vertical anchors marking the edges of your footprint. So see how they compare to other outdoor display formats in our outdoor trade show displays guide.
Thunder Double-Sided Outdoor Banner Stand
Outdoor Banner Stands
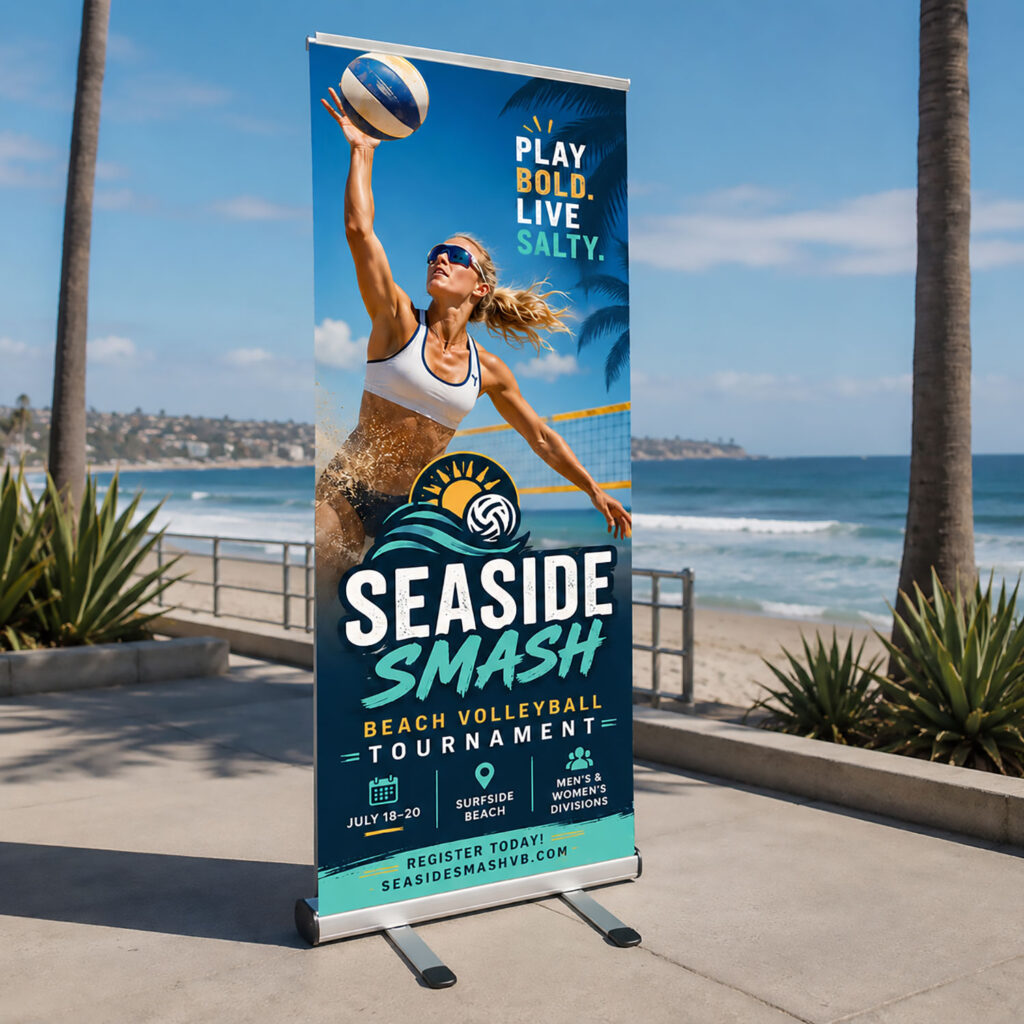
In fact, outdoor banner stands hold messaging at eye level. In short, they use weighted or water-fillable bases rated for 15–25 mph winds. But indoor retractables fail outdoors. Still, their bases are not engineered for ambient wind load. In fact, outdoor banner stands work flanking tent entrances. Also, they mark specific booth zones.
Tension Fabric Structures
Still, modular tension fabric structures deliver the same architectural look as indoor SEG displays, engineered for outdoor use. However, they typically require professional installation and start at 10×20 footprints. So they’re best used for premium brand presentations at major shows.
Step 3: Engineer for Weather Before You Need To
In fact, every outdoor venue has a wind rating in their exhibitor packet. However, most exhibitors treat weatherproofing as an afterthought. Still, that’s the most common reason booths fail outdoors. Also, weatherproofing has four parts:
- Wind anchoring. 40 lbs per leg minimum for a 10×10 tent in light conditions. Scale to 60–80 lbs per leg in exposed locations or venues rated for 20+ mph winds. Sandbags, water weights, and ground stakes all qualify, but venue rules vary.
- Rain protection. Waterproof canopy tops with sealed seams, sidewall panels for sudden downpours, and elevated flooring or floor mats to keep electronics off wet ground.
- Sun management. UV-stable graphic inks rated for 1,000+ hours of direct exposure, plus shade structure for staff and equipment.
- Temperature. Battery-powered fans for hot venues (80–100°F operating range), portable heaters for cold ones, and consideration for how heat affects giveaway items and printed material.
Step 4: Plan the Layout Around Visitor Movement
Still, outdoor footprints don’t have aisle walls forcing visitors past your booth. So layout has to do that work itself. First, think about visitors approaching from three angles. Then design entry points for each. Also, a few principles hold up across show types:
- Pull the attraction forward. The element that gets people to stop should be visible from 20 feet away, not buried at the back of the tent.
- Leave open sightlines. A booth that looks crowded from outside reads as “don’t interrupt.” Open frontage signals welcome.
- Create a clear path through. Floor space should guide visitors from attraction to conversation to lead capture in an obvious sequence.
- Separate staff space from visitor space. Phones, food, and personal items belong out of sight. Display counters with internal storage handle this cleanly.
Step 5: Solve Power, Lighting, and Connectivity
Also, outdoor venues rarely provide reliable power. However, the ones that do charge significant fees for hookups. So plan as if you have none. In short, a modern outdoor booth runs tablets, payment processors, monitors, lighting, and fans. In fact, all of it needs to come from your own setup.
Also, portable power stations in the 500–2000Wh range handle a full day of typical booth electronics. Like a 1,000Wh station runs a tablet, two phones, a monitor, and an LED light bar for 8–10 hours. In fact, battery-powered LED booth lighting draws minimal current (10–30W typical). Also, it improves booth presence at golden hour and after dark. Also, never rely on venue wifi. Most of all, a mobile hotspot or phone tethering is a non-negotiable backup for lead capture.
Step 6: Design Graphics for Outdoor Viewing Distance
Outdoor graphics fail when designers use indoor proportions. Like the viewing distance is longer. Plus, the ambient light is brighter. Also, the visual competition is wider. Overall, three rules govern outdoor graphic design:
- Headlines readable from 20 feet. Minimum 4-inch tall lettering for headlines on tent canopies and banners. Test by printing a small mockup and stepping back across a parking lot.
- High-contrast color combinations. Sunlight washes out subtle palettes. Bold saturated colors with strong contrast hold up. Avoid pastels and light-on-light entirely.
- Minimal body copy. Outdoor visitors don’t stop to read. One headline, one supporting line, one call to action per surface.
Also, UV-stable inks and laminates are standard on quality outdoor graphics. However, indoor banner graphics reused outside show noticeable color shift. In short, this happens after one or two shows of direct sun exposure.
Step 7: Build the Lead Capture and Pre-Show Marketing System
In fact, the booth is one channel. However, the campaign around it is everything else. In short, pre-show marketing drives qualified traffic to your specific footprint. Otherwise, you depend on foot traffic alone. Also, a working pre-show system includes:
- Email or social outreach to your existing list with show date, booth number, and a reason to visit
- Targeted ads to attendee geographic markets in the two weeks before the show
- LinkedIn outreach to confirmed attendees when the show publishes a list
- A scheduled meeting option so qualified prospects book time at the booth in advance
In fact, on-site lead capture should be frictionless. Like QR codes that route to a short form work well. Also, tablet-based capture with prefilled show context works. Or use badge scanners when the show provides them. Overall, the bar is simple. In short, a visitor gets captured in under 30 seconds. Also, it happens without breaking conversation.
Step 8: Measure ROI Properly
Also, most exhibitors measure outdoor trade show ROI by counting leads. However, that misses about 80% of the actual value. In short, a complete ROI picture includes five metrics:
- Qualified leads captured and pipeline conversion rate over the following 90 days
- Existing customer touchpoints handled at the booth (renewals, upsells, support conversations)
- Brand impressions from foot traffic and adjacent booth visibility
- Content captured for post-show use (photos, video, testimonials, demos)
- Cost per qualified lead compared to other acquisition channels
In fact, track these metrics in one sheet across every show. Then the right booths, displays, and shows become obvious. Also, this happens after two or three events.
The Outdoor Trade Show Booth Planning Checklist
Use this as a working checklist from booth selection through post-show wrap-up.
Six to Eight Weeks Out
- Define booth goal, conversion mechanism, and target lead count
- Confirm booth footprint, location on the show map, and venue rules
- Read the exhibitor packet for power, anchoring, and weather rules
- Order or confirm primary display (tent, banner stands, feather flags, tension structure)
- Submit graphic files with bleeds and UV-stable specs
- Book travel, lodging, and any local services (rental vehicle, freight)
Three to Four Weeks Out
- Confirm all graphics proofed and approved for production
- Order accessories: counters, lighting, flooring, power stations, signage
- Launch pre-show email and social campaigns
- Schedule pre-booked meetings with target accounts
- Train booth staff on goal, demo flow, and lead capture process
- Prepare lead capture tool (QR codes, tablet forms, badge scanner setup)
One Week Out
- Check weather forecast and adjust weatherproofing accordingly
- Confirm shipment tracking and venue delivery window
- Pack staff kit: business cards, branded apparel, sunscreen, water, chargers
- Pack emergency kit: tape, zip ties, scissors, sharpies, extra batteries
- Verify mobile hotspot or backup connectivity is charged and tested
- Print or save digital copy of show contact list and booth diagram
Setup Day
- Arrive at the booth with buffer time to handle setup problems
- Assemble structure, anchor it, and test stability before adding graphics
- Install lighting and test power station runtime
- Stage all giveaways, literature, and demo items
- Walk the booth from 20 feet out and adjust sightlines
- Confirm lead capture tool is working with a test entry
Show Days
- Open booth 15 minutes early to handle weather, power, or staffing issues
- Rotate staff breaks so the booth is never under-covered
- Log lead notes in real time, not at end of day
- Re-anchor or adjust setup if wind or weather changes
- Capture photos, video, and testimonial content throughout the day
- Debrief briefly at end of each day on what worked and what to adjust
Post-Show
- Send lead follow-up within 48 hours, segmented by qualification
- Tally final lead count, qualified count, and meeting count
- Inspect booth components and graphics for damage before storage
- Pack and ship return freight with clear labeling
- Calculate cost per qualified lead and add to the show database
- Document lessons learned for next show’s planning
What Are the Most Common Outdoor Trade Show Booth Mistakes?
Also, a few patterns show up across exhibitors who don’t get the ROI they expected. In fact, each one is avoidable with the checklist above. However, most aren’t avoided. In short, exhibitors underestimate how different outdoor exhibiting is from indoor. Then they’re standing on a wet patch of grass at 6am trying to fix it.
- Under-anchoring. Booth fails the first time wind hits 15+ mph because anchoring was calculated for ideal conditions.
- Graphics designed for indoor distance. Headlines too small to read from outside the booth, body copy nobody stops to read.
- No backup power. Lead capture goes down at 2pm on day one and stays down.
- Empty-looking footprint. Booth reads as “nothing happening here” from 30 feet away and visitors skip past.
- Untrained staff. Visitors get a different pitch from every team member, leads get logged inconsistently.
- No pre-show marketing. Booth is at the mercy of foot traffic alone, and foot traffic is unpredictable.
Frequently Asked Questions
What size booth do I need for an outdoor trade show?
A 10×10 footprint is the standard starting point for outdoor B2B and B2C shows. It handles two to three staff with a demo or product display. However, step up to 10×20 when you need a clear demo area. This separates demo space from the lead capture station. Use 20×20 for premium presence at major shows. Larger footprints require more anchoring weight (4–8 anchor points). They also need more setup time and usually professional installation.
How do I keep my booth from blowing over in the wind?
Use 40 lbs of anchoring weight per leg minimum for a 10×10 tent. Scale to 60–80 lbs per leg in exposed locations or wind ratings above 20 mph. Sandbags, water weights, and ground stakes all qualify. However, venue rules vary. Some prohibit stakes entirely. Plus, add side sandbags or cross-bracing for tents left unattended overnight. Finally, tear down preemptively if forecast wind exceeds the venue’s stated rating.
Do I need permits for an outdoor trade show booth?
Permits are handled by the show organizer in most cases. The individual exhibitor rarely handles them. In short, the exhibitor packet specifies what’s required. Like some venues require fire marshal approval for tent structures above 400 square feet. The same is true for booths using generators, propane, or open flame. Finally, confirm with the show coordinator at least four weeks before the event.
How much does an outdoor trade show booth cost?
A complete outdoor booth setup runs $1,500 to $5,000 for a 10×10 footprint. This includes a commercial-grade pop-up tent, branded canopy, two banner stands or feather flags, a portable counter, and lighting. However, premium tension fabric structures scale higher. Custom-fabricated booths run $10,000 to $25,000. Plus, rental options are available. They work well for exhibitors testing the format before committing to ownership.
What’s the best display for an outdoor trade show booth?
The best display combines three elements. First, a branded pop-up tent for shade and 360-degree branding. Second, two feather flags for visibility from 50+ feet away. Third, outdoor-rated banner stands for eye-level messaging. But indoor retractable banner stands fail outdoors. Their bases aren’t engineered for wind load. For a full breakdown of outdoor display categories, see our complete guide to outdoor trade show displays.
How early should I start planning an outdoor trade show booth?
Start planning six to eight weeks before the show. In short, this includes graphic design, production, shipping, and pre-show marketing. However, shorter timelines work for some exhibitors. They need existing displays and approved graphics. But custom graphics and new display purchases need the full lead time. Finally, premium custom fabrication should be planned three to four months out.
Ready to Plan Your Outdoor Booth
APG Exhibits builds outdoor trade show booths for exhibitors who treat the show as a real channel. Not a guess. Overall, the full lineup is available now. It includes outdoor displays, pop-up tents, feather flags, and outdoor banner stands. Plus, our team can match the right configuration to your show, venue, and budget. Finally, contact us for a personalized recommendation.


